Index
Introduction
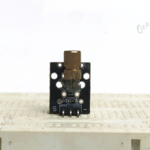
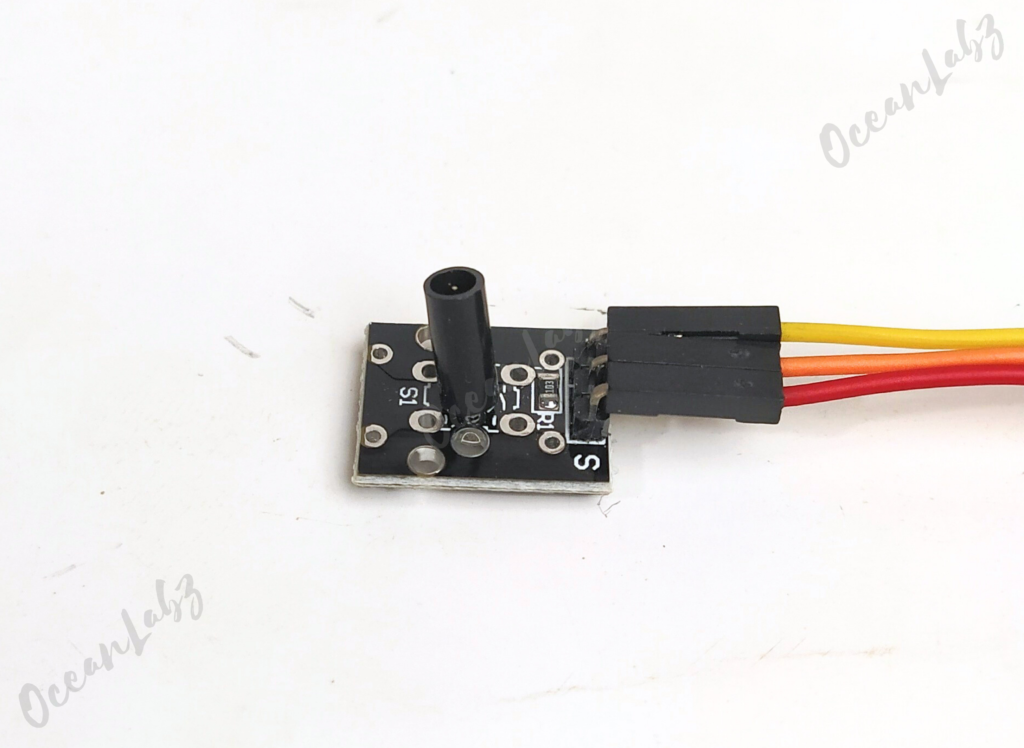
In this tutorial, we are using the KY-002 Vibration Sensor Module with an Arduino Uno.
The sensor detects vibration or shock and sends a digital signal to the Arduino.
When movement is detected, the Arduino can trigger an LED, buzzer, or other actions.
It’s a simple way to build motion or tamper detection projects.
Required Components
- Arduino UNO
- Vibration Sensor
- LED with 220 ohm Resistor
- Jumper wires
- Breadboard
Pinout

Circuit Diagram / Wiring
- Vibration Sensor with Arduino
- Vibration Sensor VCC → 5V (Arduino)
- Vibration Sensor GND → GND (Arduino)
- Vibration Sensor Signal → D2 (Arduino)
- LED
- Connect the longer leg (anode) of the LED to digital pin 13 through a 220-ohm resistor.
- Connect the shorter leg (cathode) to the GND pin.

Arduino Code / Programming
int vibrationPin = 2;
int ledPin = 13;

void setup() {
  pinMode(vibrationPin, INPUT);
  pinMode(ledPin, OUTPUT);
  Serial.begin(9600);
}

void loop() {
  int vibration = digitalRead(vibrationPin);

  if (vibration == LOW) { // Vibration detected
    digitalWrite(ledPin, HIGH);
    Serial.println("Vibration Detected!");
  } else {
    digitalWrite(ledPin, LOW);
  }

  delay(100);
}
Explanation
- The KY-002 Vibration Switch detects sudden movement or vibration using an internal spring sensor.
- When vibration occurs, the output goes LOW (0V), and when there’s no vibration, it stays HIGH (5V).
- The Arduino reads this digital signal to trigger actions like alarms or LED indicators.
Troubleshooting
- Make sure Signal pin is connected to a digital input (not analog) on Arduino.
- If not detecting vibration, try tapping or shaking the sensor gently.
- Confirm proper power (5V & GND); without it, the module won’t work.