Index
Introduction
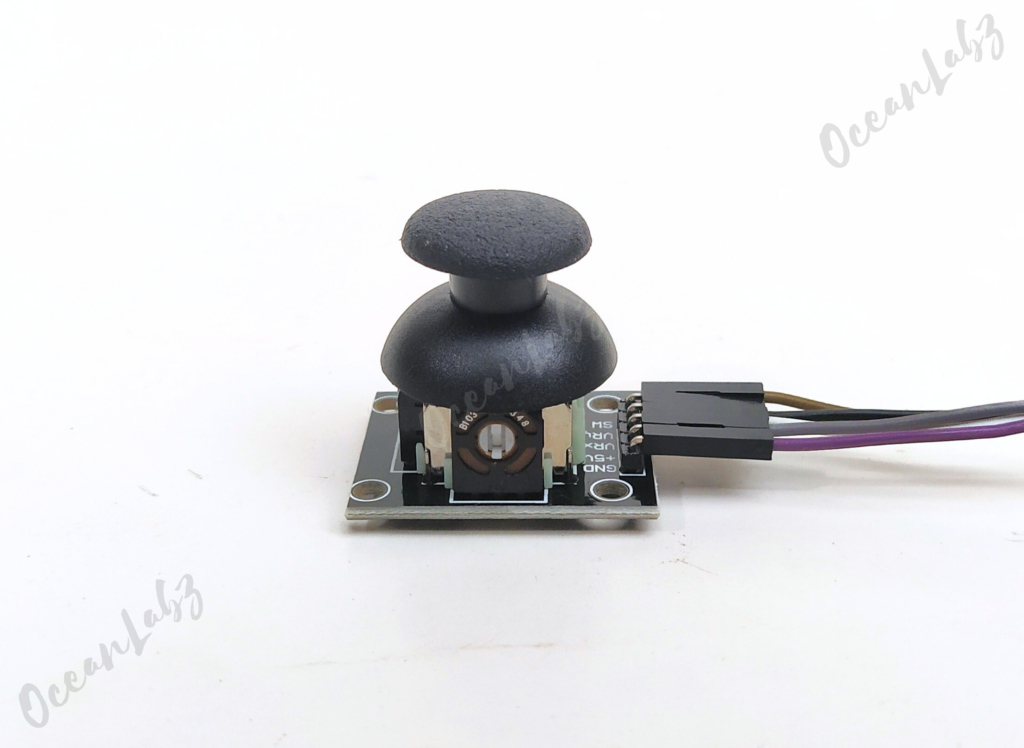
The Joystick module consists of two potentiometers (X and Y axes) and a push-button switch.
It outputs analog values for movement along X and Y axes and a digital signal for the button press.
Commonly used in robotics, gaming, and interactive control systems.
We’ll read the analog values and detect button presses using Arduino Uno.
Required Components
- Arduino UNO
- Joystick module
- Jumper wires
- Breadboard (optional)
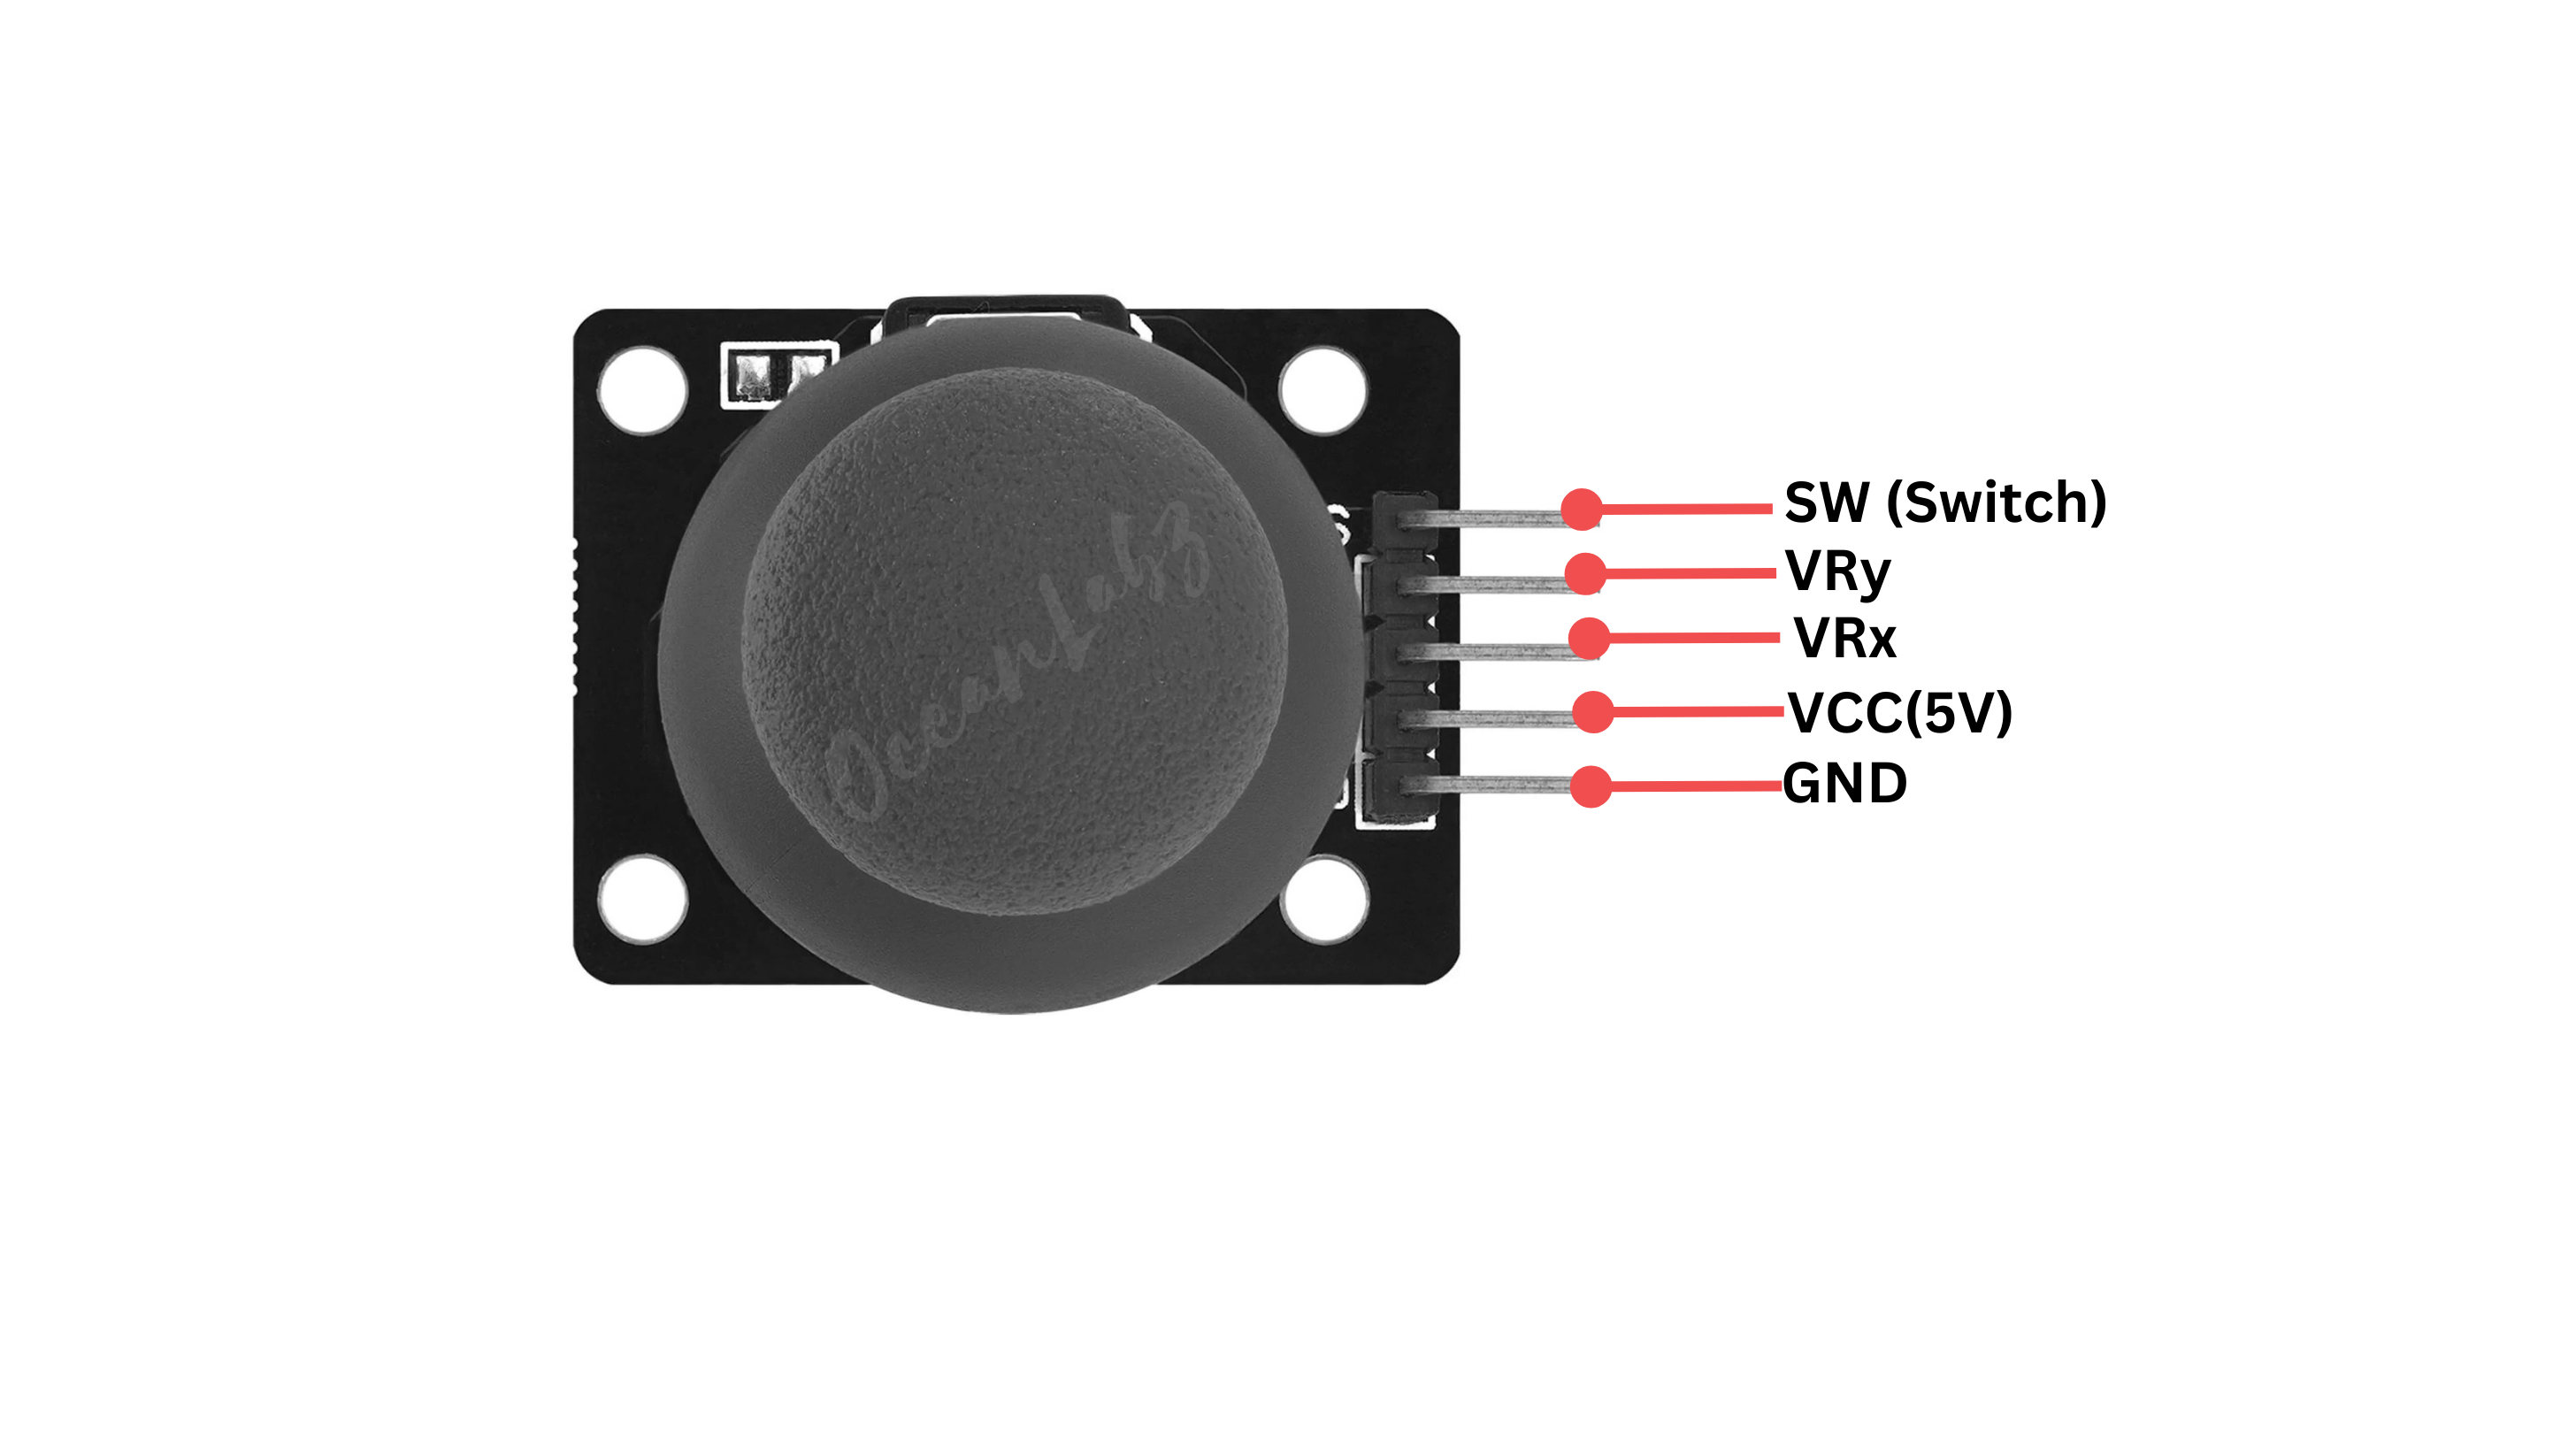
Pinout
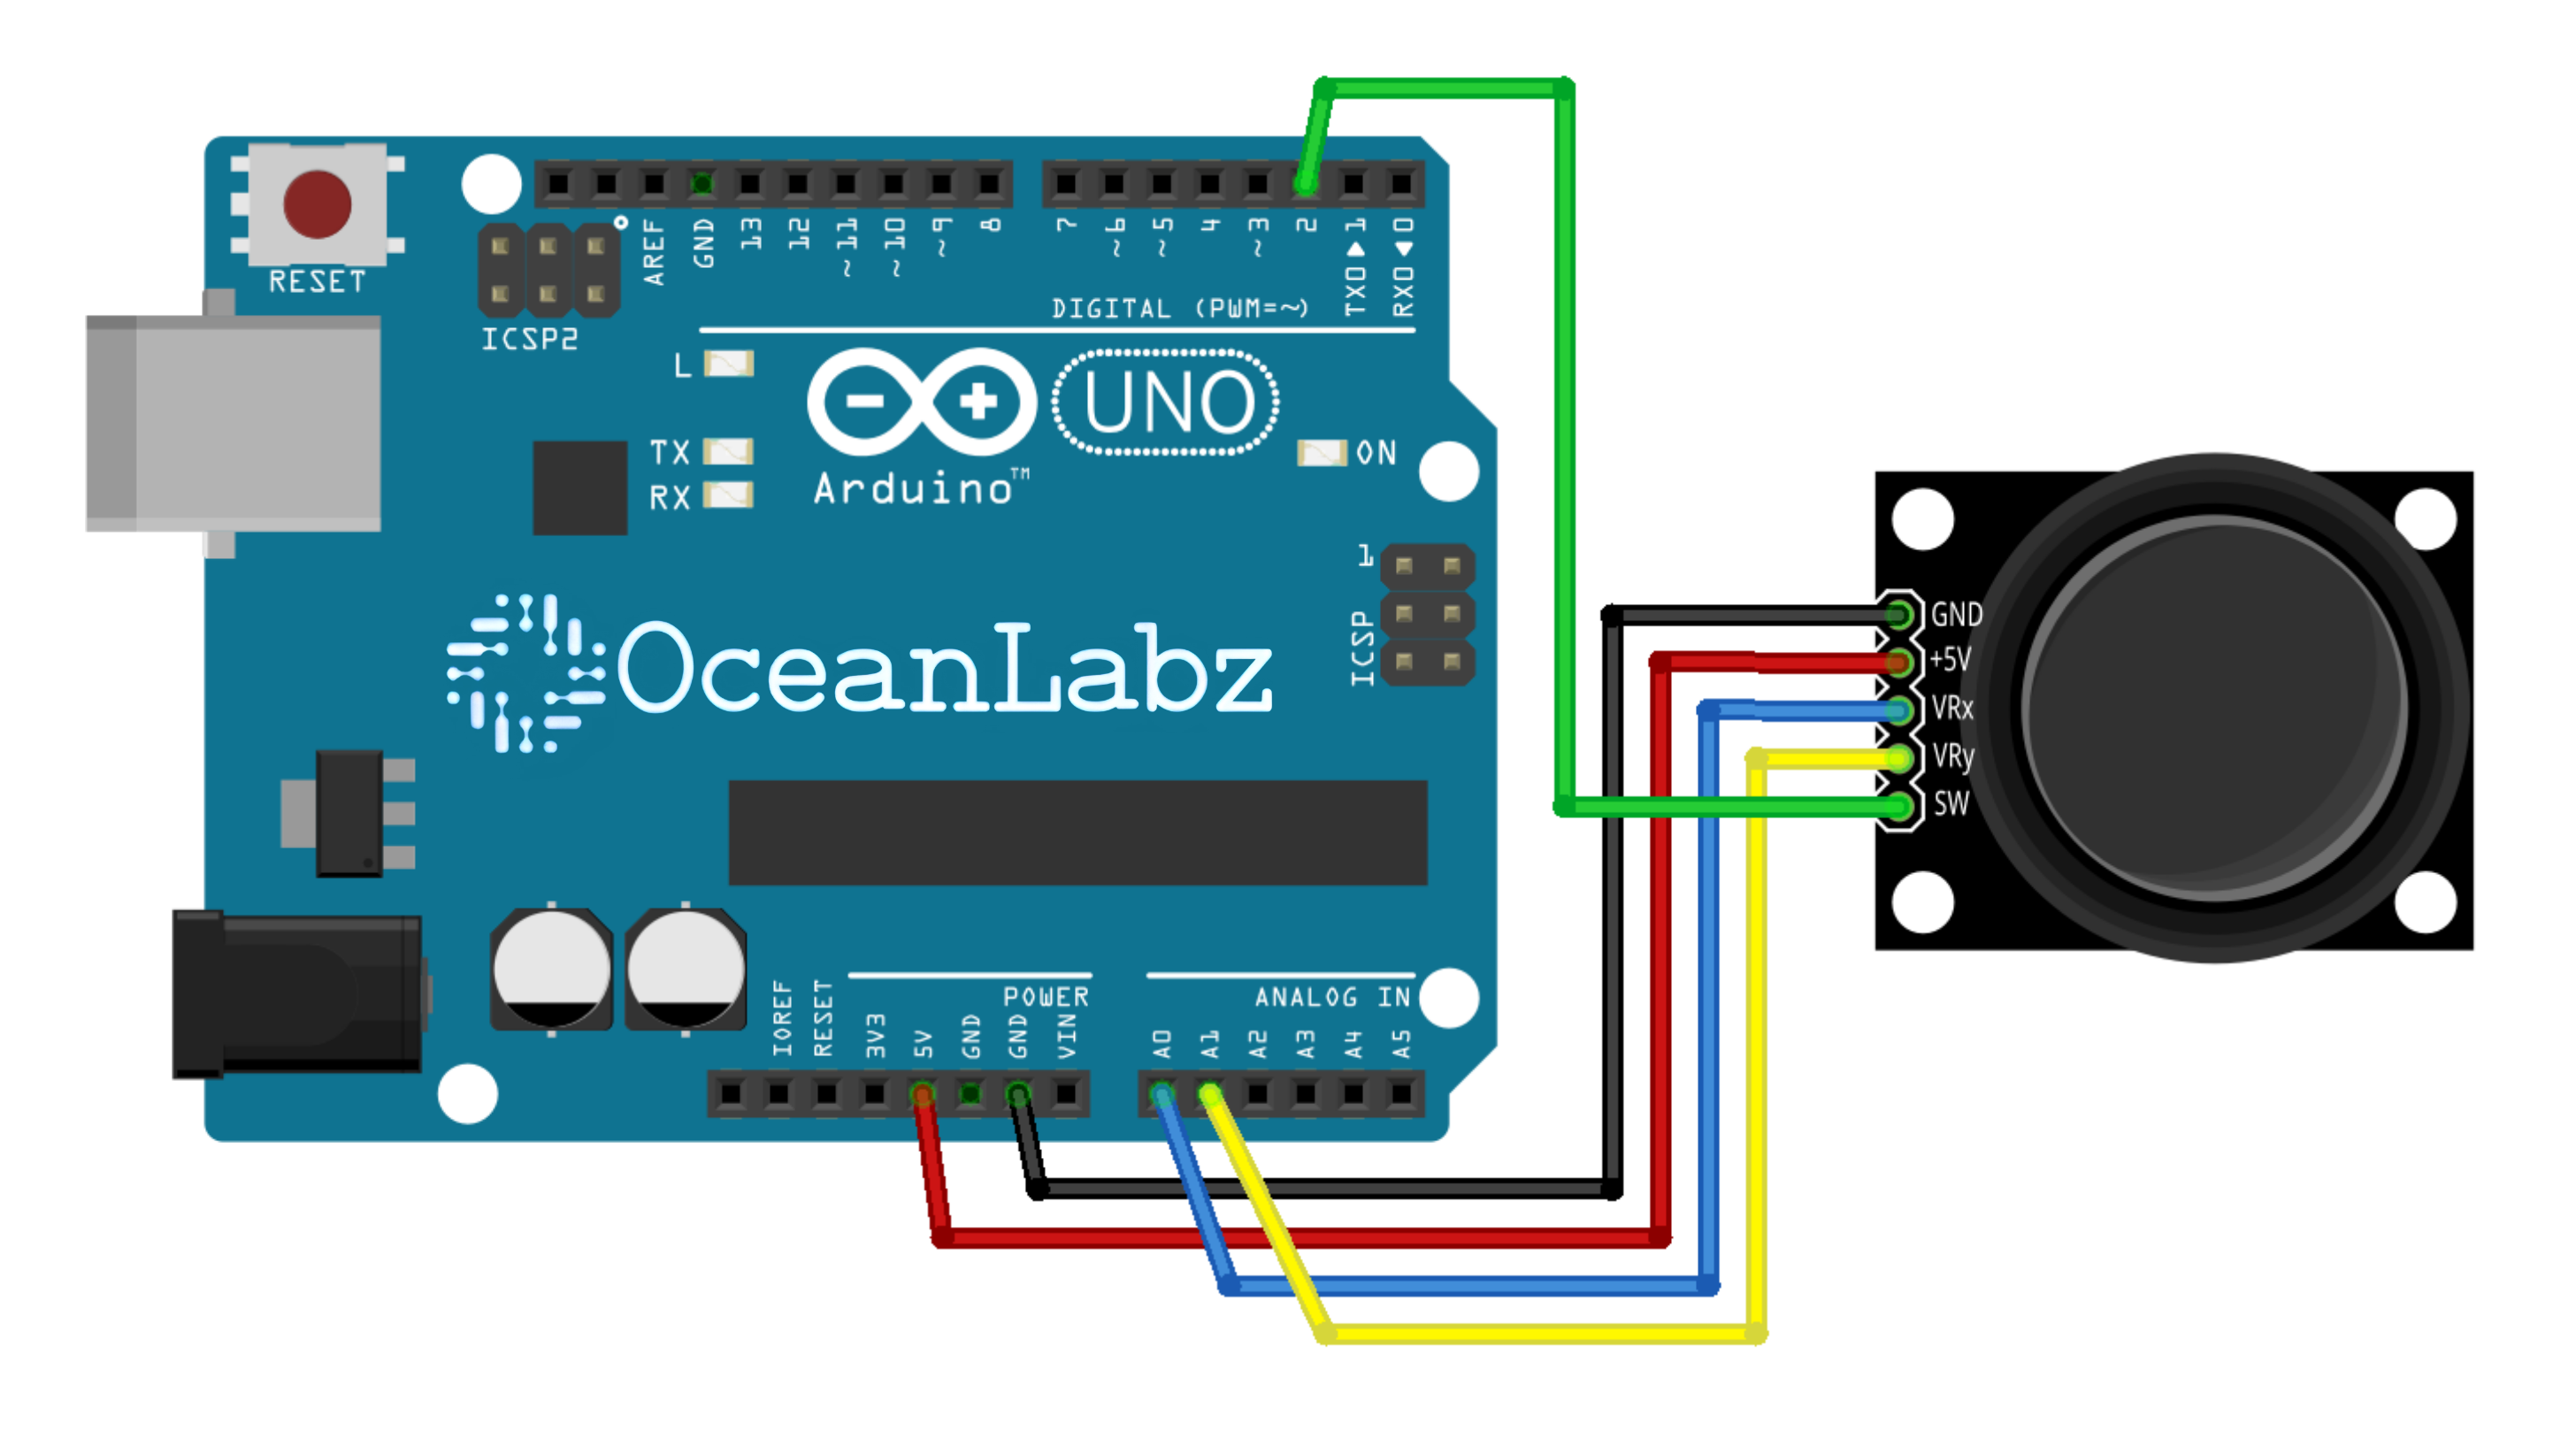
Circuit Diagram / Wiring
- Joystick (5V) → Arduino 5V
- Joystick (GND) → Arduino GND
- Joystick (VRx) → Arduino A0
- Joystick (VRy) → Arduino A1
- Joystick (SW) → Arduino D2
Arduino Code / Programming
const int VRx = A0;
const int VRy = A1;
const int SW = 2;

void setup() {
  Serial.begin(9600);
  pinMode(SW, INPUT_PULLUP); // Use internal pull-up resistor
}

void loop() {
  int xValue = analogRead(VRx); // Read X-axis
  int yValue = analogRead(VRy); // Read Y-axis
  int buttonState = digitalRead(SW); // Read button

  Serial.print("X: ");
  Serial.print(xValue);
  Serial.print(" | Y: ");
  Serial.print(yValue);
  Serial.print(" | Button: ");
  Serial.println(buttonState == LOW ? "Pressed" : "Released");

  delay(300);
}
Explanation
analogRead()captures X and Y axis positions (range: 0–1023).digitalRead()checks if the joystick button is pressed (LOW = pressed).Values are printed to the Serial Monitor for real-time tracking.
Troubleshooting
- If no movement is detected, verify connections and use Serial Monitor.
- Button not working? Ensure it’s wired to a digital pin and use
INPUT_PULLUP. - If values are unstable, add a small delay or average multiple readings.