Index
The ESP32 has several common issues, especially when uploading new sketches or installing the ESP32 add-on in the Arduino IDE. This guide focuses on troubleshooting ESP32 problems specifically when using the Arduino IDE. Below, we’ve compiled a list of the most common issues and their solutions.
Note: make sure you have the latest Arduino IDE installed. Using a different Arduino IDE version might cause other unexpected problems and errors.
1. How do I install the ESP32 add-on for the Arduino IDE?
An add-on for the Arduino IDE enables you to program the ESP32 using the Arduino IDE and its programming language. Follow one of the next units to set up your Arduino IDE for ESP32 on your operating system.
2. C:\\Users\\ User\\Documents \\Arduino\\ hardware\\ espressif\\ esp32/tools /xtensa-esp32-elf /bin/ xtensa-esp32- elf-g++”: file does not exist
After installing the ESP32 add-on, if the Arduino IDE fails to compile code for your ESP32 board, we recommend re-running the ESP32 add-on installation.
3. A fatal error occurred: “Failed to connect to ESP32: Timed out… Connecting…”
If you try to upload a new sketch to your ESP32 and it fails to connect, your ESP32 is likely not in flashing/uploading mode.
After selecting the correct board name and COM port, follow these steps:
- Hold-down the “BOOT” button in your ESP32 board
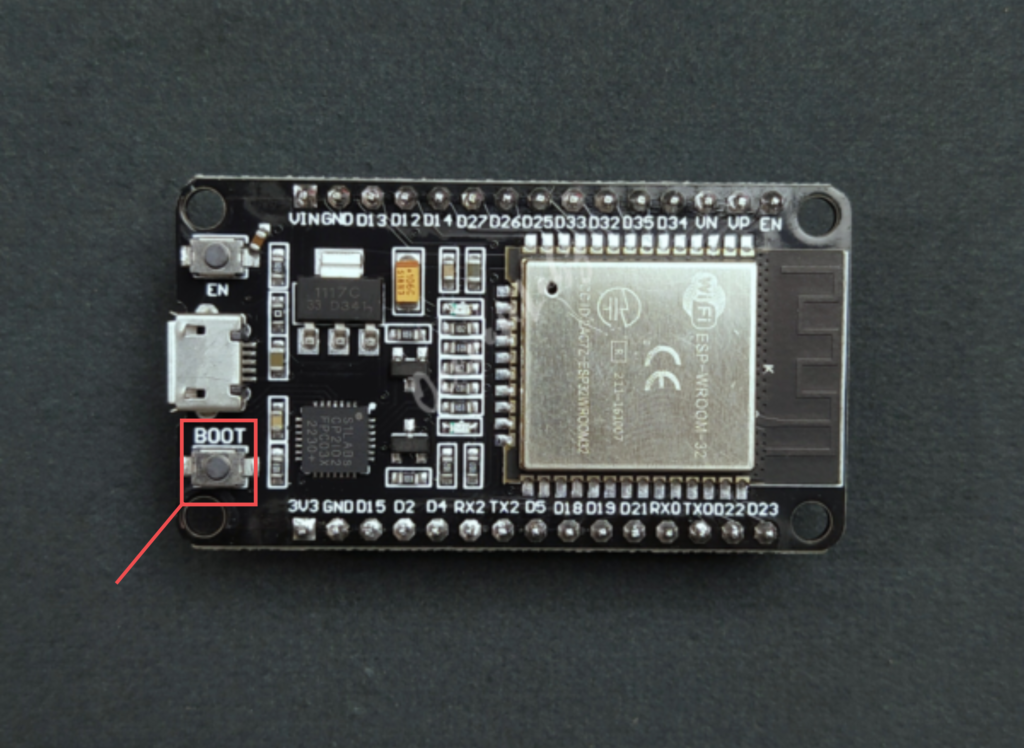
- Press the “Upload” button in the Arduino IDE to upload a new sketch:

- After you see the “Connecting….” message in your Arduino IDE, release the finger from the “BOOT” button:
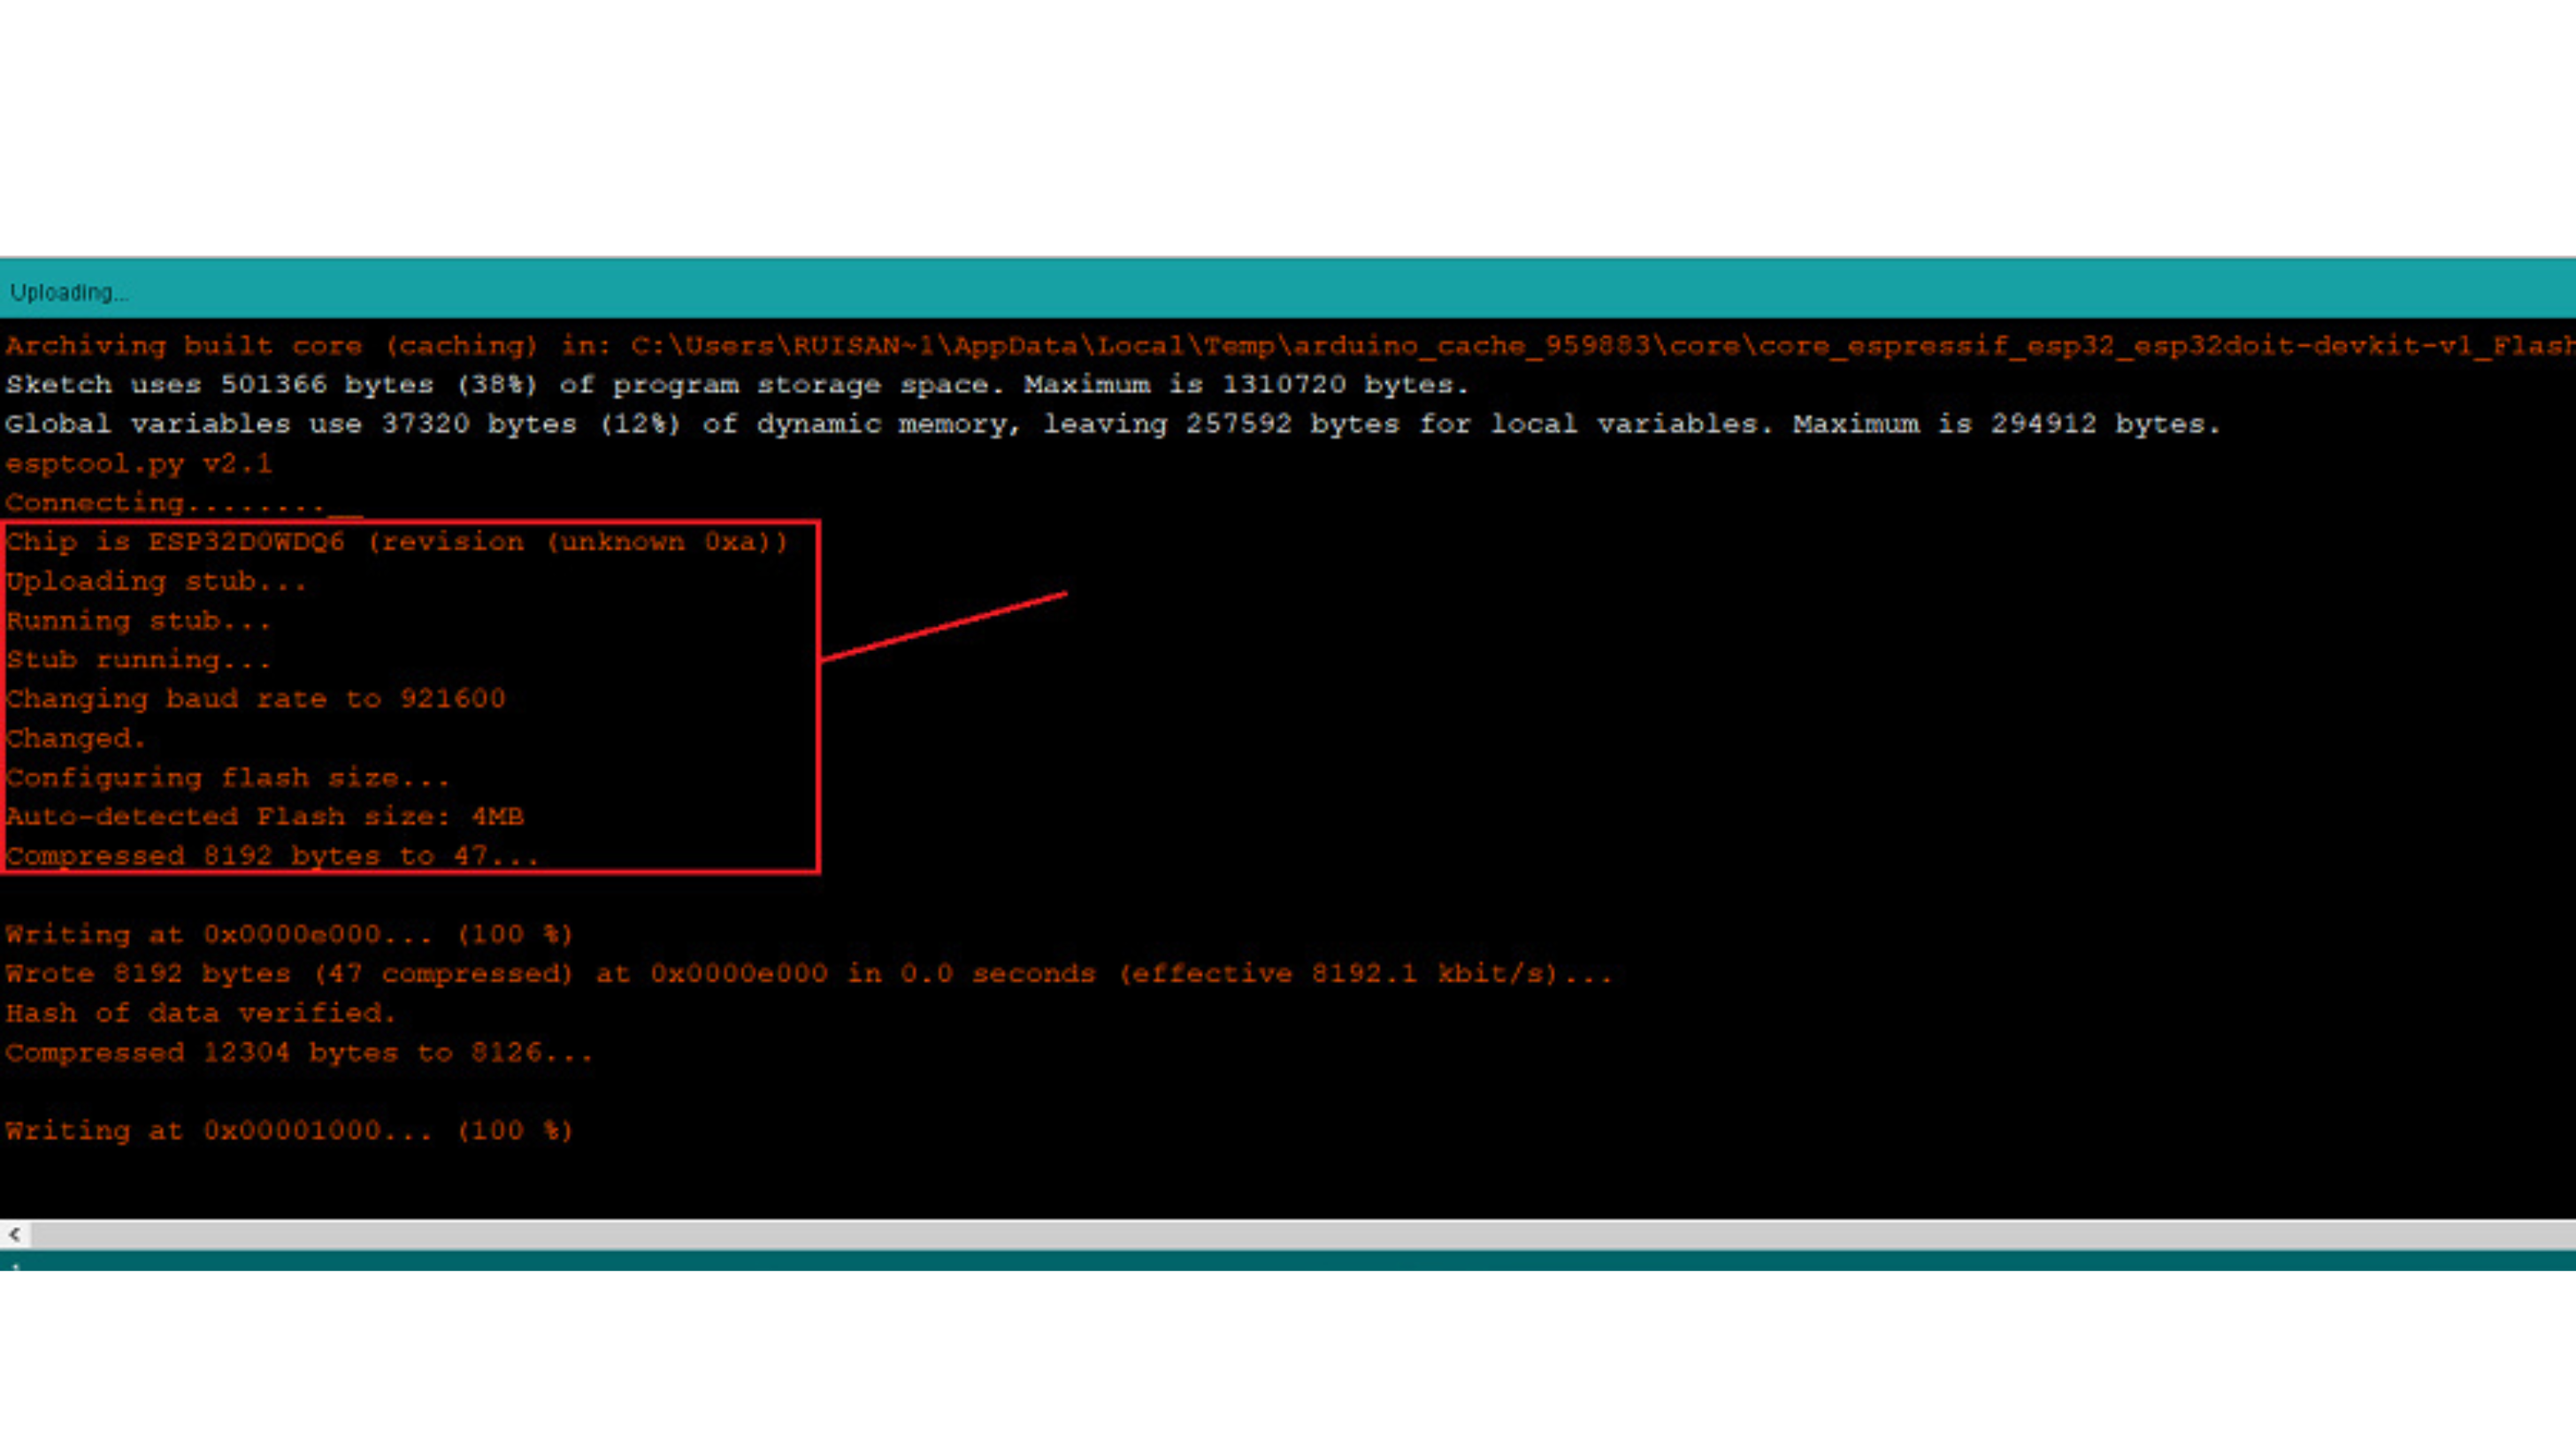
- After that, you should see the “Done uploading” message
That’s it! Your ESP32 should now be running the newly uploaded sketch. With this setup, after uploading a new sketch, press the ENABLE button to restart the ESP32 and run the updated program.
You’ll need to repeat this button sequence every time you upload a new sketch. However, if you want to permanently resolve this issue and avoid pressing the BOOT button, follow the suggestions in the next guide.
Tutorial HERE
To be honest, we’re not entirely sure why this happens with newer boards. We haven’t encountered an ESP32 board with this behavior. It’s possible that your specific board has a different configuration, or the Arduino IDE is failing to send the correct command sequence to automatically put the ESP32 into flashing/uploading mode.
4. COM Port not found/not available
If you connect your ESP32 board to your computer but the Port option in the Arduino IDE is grayed out, follow these troubleshooting steps:
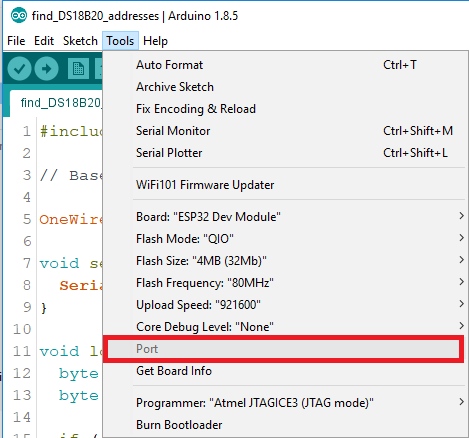
It might be one of these two problems: 1. USB drivers missing or 2. USB cable without data wires.
- If your ESP32’s COM port is not available, it often indicates that the necessary USB drivers are missing. Inspect the chip near the voltage regulator on your board and check its name to determine the correct driver.

2. If you have the drivers installed but still can’t see your device, ensure you’re using a USB cable with data wires. Some USB cables, especially those from power banks, are charge-only and lack data lines, preventing serial communication with the ESP32. Switching to a proper data-enabled USB cable should resolve the issue.
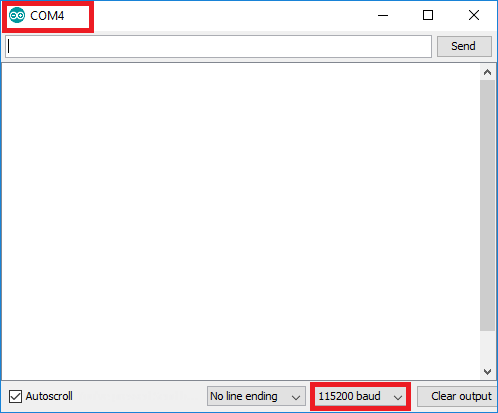
5. Arduino IDE Serial Monitor “doesn’t work”
If your ESP32 is displaying weird text or gibberish in the Arduino IDE Serial Monitor, ensure that:
- You have selected the correct COM port.
- The baud rate is set correctly. Most examples use 115200 baud.
6. Error: “Brownout detector was triggered”
If your Arduino IDE Serial Monitor repeatedly prints the error “Brownout detector was triggered,” it indicates a hardware issue. This is often caused by one of the following:
- Poor quality USB cable;
- USB cable is too long;
- Board with some defect (bad solder joints);
- Bad computer USB port;
- Or not enough power provided by the computer USB port.
Solution: try a different shorter USB cable (with data wires), try a different computer USB port or use a USB hub with an external power supply.
7. ESP32 can’t connect to a Wi-Fi network.
- Confirm the Wi-Fi SSID and password.
- Ensure the network is within range.
- Check if the router is set to support 2.4 GHz, as ESP32 does not support 5 GHz Wi-Fi.
8. ESP32 is not discoverable or can’t pair with devices.
- Ensure the Bluetooth mode is set up correctly in your code.
- Restart the ESP32 and try again.
- Make sure no other devices are trying to connect simultaneously, as it may interfere.
9. Sensors connected to the ESP32 aren’t providing accurate data.
- Check the wiring and connections.
- Verify that the sensor’s power and ground pins are correctly connected,as incorrect connections can damage the CP2102/CH340 driver..
- Add decoupling capacitors (0.1 µF) to the power lines if readings fluctuate.
10. Some pins are not functioning as expected.
- Some pins on the ESP32 have specific uses (like flash, boot, etc.) and may not work for general input/output. Refer to the ESP32 datasheet for pin restrictions.
11. ESP32 heats up during usage.
- If ESP32 is consistently warm to the touch, ensure adequate ventilation. The ESP32 may heat up slightly under normal operation, but excessive heat might indicate a problem.
- Avoid placing ESP32 in an enclosure without airflow, and consider adding a heatsink if temperatures are high.
- For battery-powered ESP32s, ensure the current draw is managed within limits.
12. Code upload fails intermittently or hangs.
- Ensure your code isn’t too large for the ESP32’s available flash memory.
- Use the latest version of the Arduino IDE or ESP-IDF.
- Disable unnecessary libraries or reduce the code’s memory footprint.
13. ESP32 doesn’t start or enter the correct mode on reset.
- Double-check that your code specifies the correct mode and flash frequency.
- Use a stable power source, as voltage dips can cause boot failures.
- Use the following settings for optimal performance:
- Flash Mode: QIO
- Flash Frequency: 40 MHz
14. Libraries not working as expected.
- Ensure you’re using the latest versions of libraries compatible with ESP32.
- Some libraries may require changes for ESP32 compatibility, especially if they were initially developed for other microcontrollers. It’s important to note that this isn’t a problem with the ESP32 itself; rather, certain libraries may not fully support it out of the box.
15. ESP32 resets randomly during execution.
- Check for excessive current draw from peripherals connected to the ESP32.
- Try adding a capacitor (10µF or 100µF) across the power and ground pins to stabilize power.
- Check for infinite loops or memory leaks in your code, as these may lead to resets.
16. ESP32 keeps resetting or does not boot up properly.
- The ESP32 requires a stable 5V power source. Verify that the USB port provides adequate current. If you’re using an external power supply, ensure it can provide 5V at 500mA or more.


Comment (1)